
Effortless Garage Door Opener Installation
- COMMERCIAL GARAGE DOOR REPAIR
- GARAGE DOOR OPENER INSTALLATION
- GARAGE DOOR SPRING REPAIR
- SAME-DAY GARAGE DOOR REPAIR
- CUSTOM GARAGE DOOR
- GARAGE DOOR OPENER REPAIR
- GARAGE DOOR TRACK REPAIR
- GARAGE DOOR CABLE REPAIR
- GARAGE DOOR PANEL REPAIR
- LOCAL GARAGE DOOR REPAIR
- GARAGE DOOR REPLACEMENT
- NOISY GARAGE DOOR FIX
- GARAGE DOOR INSTALLATION
- GARAGE DOOR SECTION REPLACEMENT
- OVERHEAD GARAGE DOOR REPAIR
- GATE REPAIR
Effortless Garage Door Opener Installation: A Step-by-Step Guide
Have you been dreaming of opening your garage door with just the press of a button? A garage door opener adds unmatched convenience to your daily routine and is an essential upgrade for any modern homeowner. Whether you’re a new homeowner discovering the joys of home improvement or someone looking to enhance your garage setup, we’ve got you covered. This guide will walk you through an effortless garage door opener installation process that you can confidently handle on your own.
Preparing for Your Garage Door Opener Installation
Preparing for your installation helps the process go smoothly and safely. Let’s start by discussing what you’ll need.
Safety comes first. Make sure to unplug your old garage door opener, if you have one and disconnect the garage door from the power supply. Keep the garage door closed while you work to avoid accidents.
Now, let’s gather the tools and materials. Having the right tools is key. Essential items include a level, power drill, wrenches, screwdrivers, a ladder, and measuring tape. Don’t forget the new garage door opener kit. Check that all items in your kit match the instructions.
Lastly, check that your garage door works with the new opener. Not all garage doors and openers match. Inspect your garage door’s weight and type – manual or automatic. Most modern openers are for sectional doors, so if you have an older tilt-up door, you may need extra hardware or brackets.
Step-by-Step Garage Door Opener Installation
Now that you’re ready, let’s get started. Follow these easy steps to install your garage door opener.
Step 1: Remove the Old Opener (If Needed)
Start by taking down the old garage door opener. Unplug any wires and remove the motor unit and rail. Make sure nothing from the old setup blocks the new installation.
Step 2: Put Together the New Opener Parts
Next, organize all the parts from your new opener kit. Then, assemble the rail and motor unit as per the instructions. This should be quick with everything aligned properly.
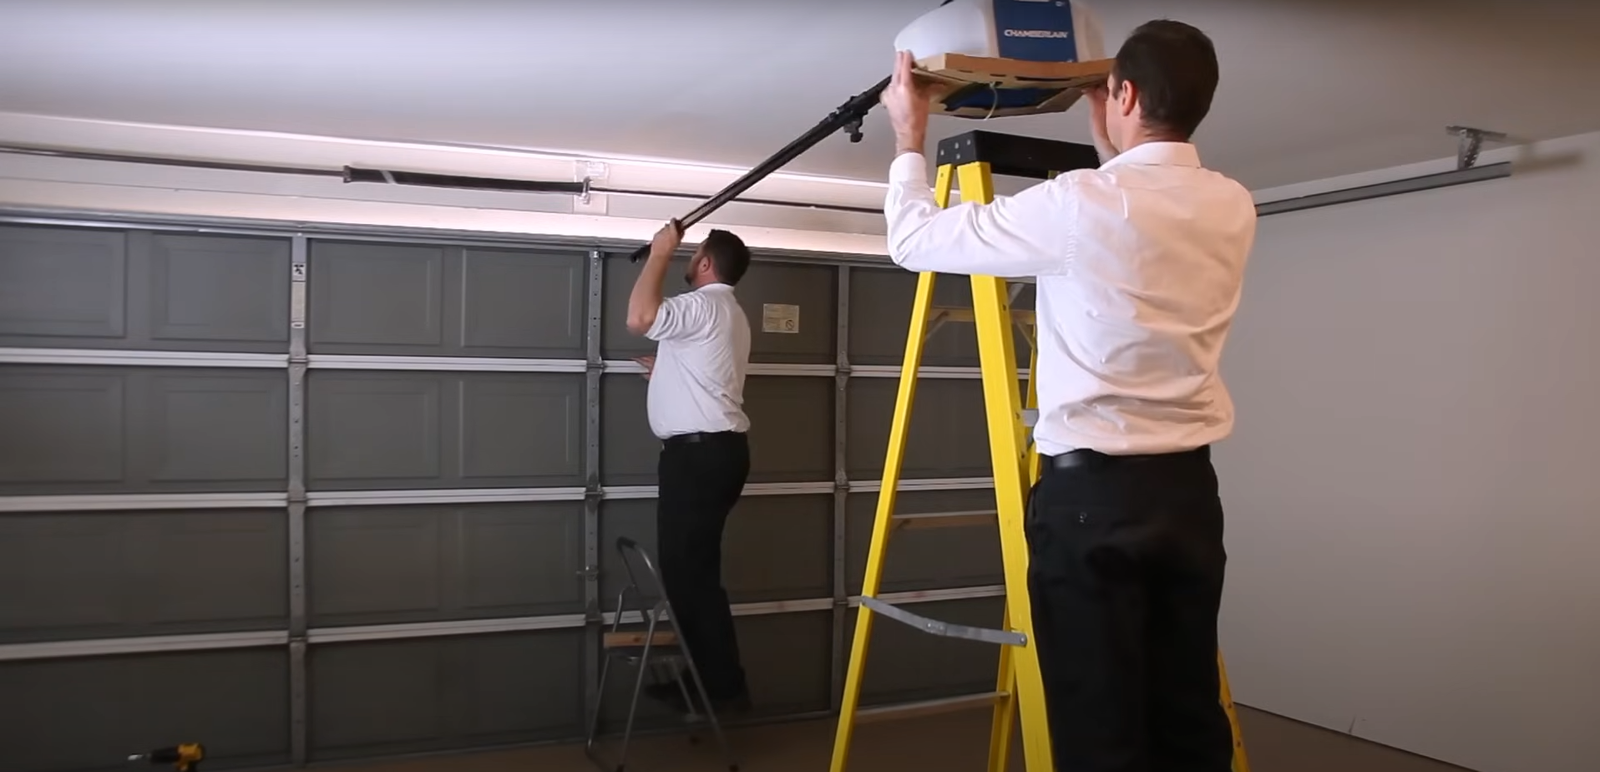
Step 3: Install the Rail and Motor Unit
After that, attach the rail to the garage door and mount the motor unit on the ceiling. Check with a level to make sure they are positioned correctly.
Step 4: Connect the Door Arm
Now, connect the door arm to both the opener and the garage door. Adjust it so that it fits snugly.
Step 5: Wire the Opener
Carefully connect the opener to the power source. Follow the wiring diagram in your kit to ensure everything is neatly connected and grounded.
Step 6: Set the Travel Limits
Next, set the travel limits to control how far the garage door goes up and down. This prevents damage to the opener and the door.
Step 7: Install Safety Sensors
Finally, place the safety sensors on each side of the door’s bottom. These will stop the door from closing if something is in the way, keeping everyone safe.
Wrapping It Up with Professional Help
Installing a garage door opener can be a fun DIY project, but it’s good to be ready for any difficulties that may come up. If you ever feel unsure or need professional help, Garage Door Repair Arcadia Florida is available to assist. Our expert team will make sure your installation is safe and effective, providing you with peace of mind and easy convenience.
Starting on your journey to a smarter garage can lead to many benefits in your everyday life. Whether you decide to do it yourself or hire professionals, a properly installed garage door opener offers clear advantages. So, why not take that first step and begin creating a more convenient and secure home today?