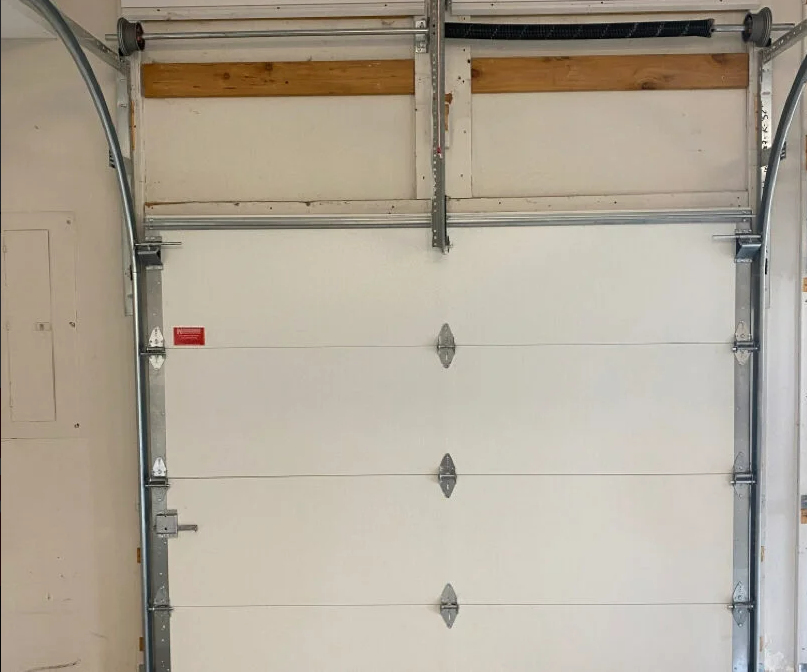
Simplifying Garage Door Section Replacement
- COMMERCIAL GARAGE DOOR REPAIR
- GARAGE DOOR OPENER INSTALLATION
- GARAGE DOOR SPRING REPAIR
- SAME-DAY GARAGE DOOR REPAIR
- CUSTOM GARAGE DOOR
- GARAGE DOOR OPENER REPAIR
- GARAGE DOOR TRACK REPAIR
- GARAGE DOOR CABLE REPAIR
- GARAGE DOOR PANEL REPAIR
- LOCAL GARAGE DOOR REPAIR
- GARAGE DOOR REPLACEMENT
- NOISY GARAGE DOOR FIX
- GARAGE DOOR INSTALLATION
- GARAGE DOOR SECTION REPLACEMENT
- OVERHEAD GARAGE DOOR REPAIR
- GATE REPAIR

Simplifying Garage Door Section Replacement
Your garage door is one of the most frequently used parts of your home, so wear and tear is inevitable. While a full garage door replacement can be costly, replacing individual sections is a more affordable and manageable solution. This blog will guide you through the process of garage door section replacement, from identifying damage to ensuring proper functionality, so you can restore your door without hassle.
Understanding When to Replace Garage Door Sections
Knowing when to replace a garage door section is the first step to tackling this project effectively.
Identifying Damage
Damage can occur from a variety of sources such as accidents, harsh weather, or just years of usage. Look for visible dents, cracks, or warping that affect a section of your door.
Assessing the Extent of the Problem
Evaluate whether the damage is isolated to one section or if multiple sections are compromised. If the frame or spring system is also affected, you may need professional assistance.
Safety First!
Never ignore even minor damage. A warped or broken section can strain the overall structure and impact your garage door’s safety features, leading to potential accidents or further issues down the road.
Tools and Materials You'll Need
Before getting started, gather the necessary materials to ensure a smooth and efficient replacement process.
Essential Tools
You’ll need a few basic tools, such as a wrench, screwdriver, drill, and safety gloves. A ladder and clamps are also helpful to hold sections in place during the process.
Replacement Section Specifications
Make sure the new section matches your garage door in material, size, and color. Check your door model to ensure compatibility.
Additional Supplies
To avoid unwelcome surprises, keep additional hardware like screws, hinges, and lubricants handy.
Step-by-Step Garage Door Section Replacement
Now that you’re prepared, it’s time to dig into the step-by-step process.
Preparing the Door
Start by disconnecting the garage door opener to ensure safety. Lift the door manually until it’s fully open and secure it with clamps or props.
Removing the Damaged Section
Unscrew or unbolt the hardware connecting the damaged section to the rest of the door. Carefully detach the section without upsetting the alignment of surrounding sections.
Installing the New Section
Position the new section and secure it using the same hardware. Tighten screws and bolts firmly but avoid overtightening, which could lead to misalignment.
Reconnecting Cables and Hardware
Reconnect any cables, springs, or brackets, ensuring they are properly tensioned. Double-check that all components are reattached securely.
Ensuring Proper Alignment and Functionality
The final steps are crucial to ensure the garage door operates smoothly.
Checking for Smooth Operation
Manually lift and lower the garage door to test its movement. Watch for any sticking points or unusual sounds.
Making Adjustments
If the door feels unbalanced or misaligned, adjust the hinges or tracks. Small tweaks can make a big difference in its performance.
Testing Safety Features
Reconnect the garage door opener and test safety features like the auto-reverse mechanism, ensuring your door meets safety standards.
Restore Your Door with Confidence
Garage door section replacement doesn’t have to be overwhelming. By following these steps, you can save time and money while restoring the functionality and appearance of your garage door. Still need help? Trust Garage Door Repair Arcadia Florida to ensure the job is done safely and professionally. Contact us today for reliable garage door services!
